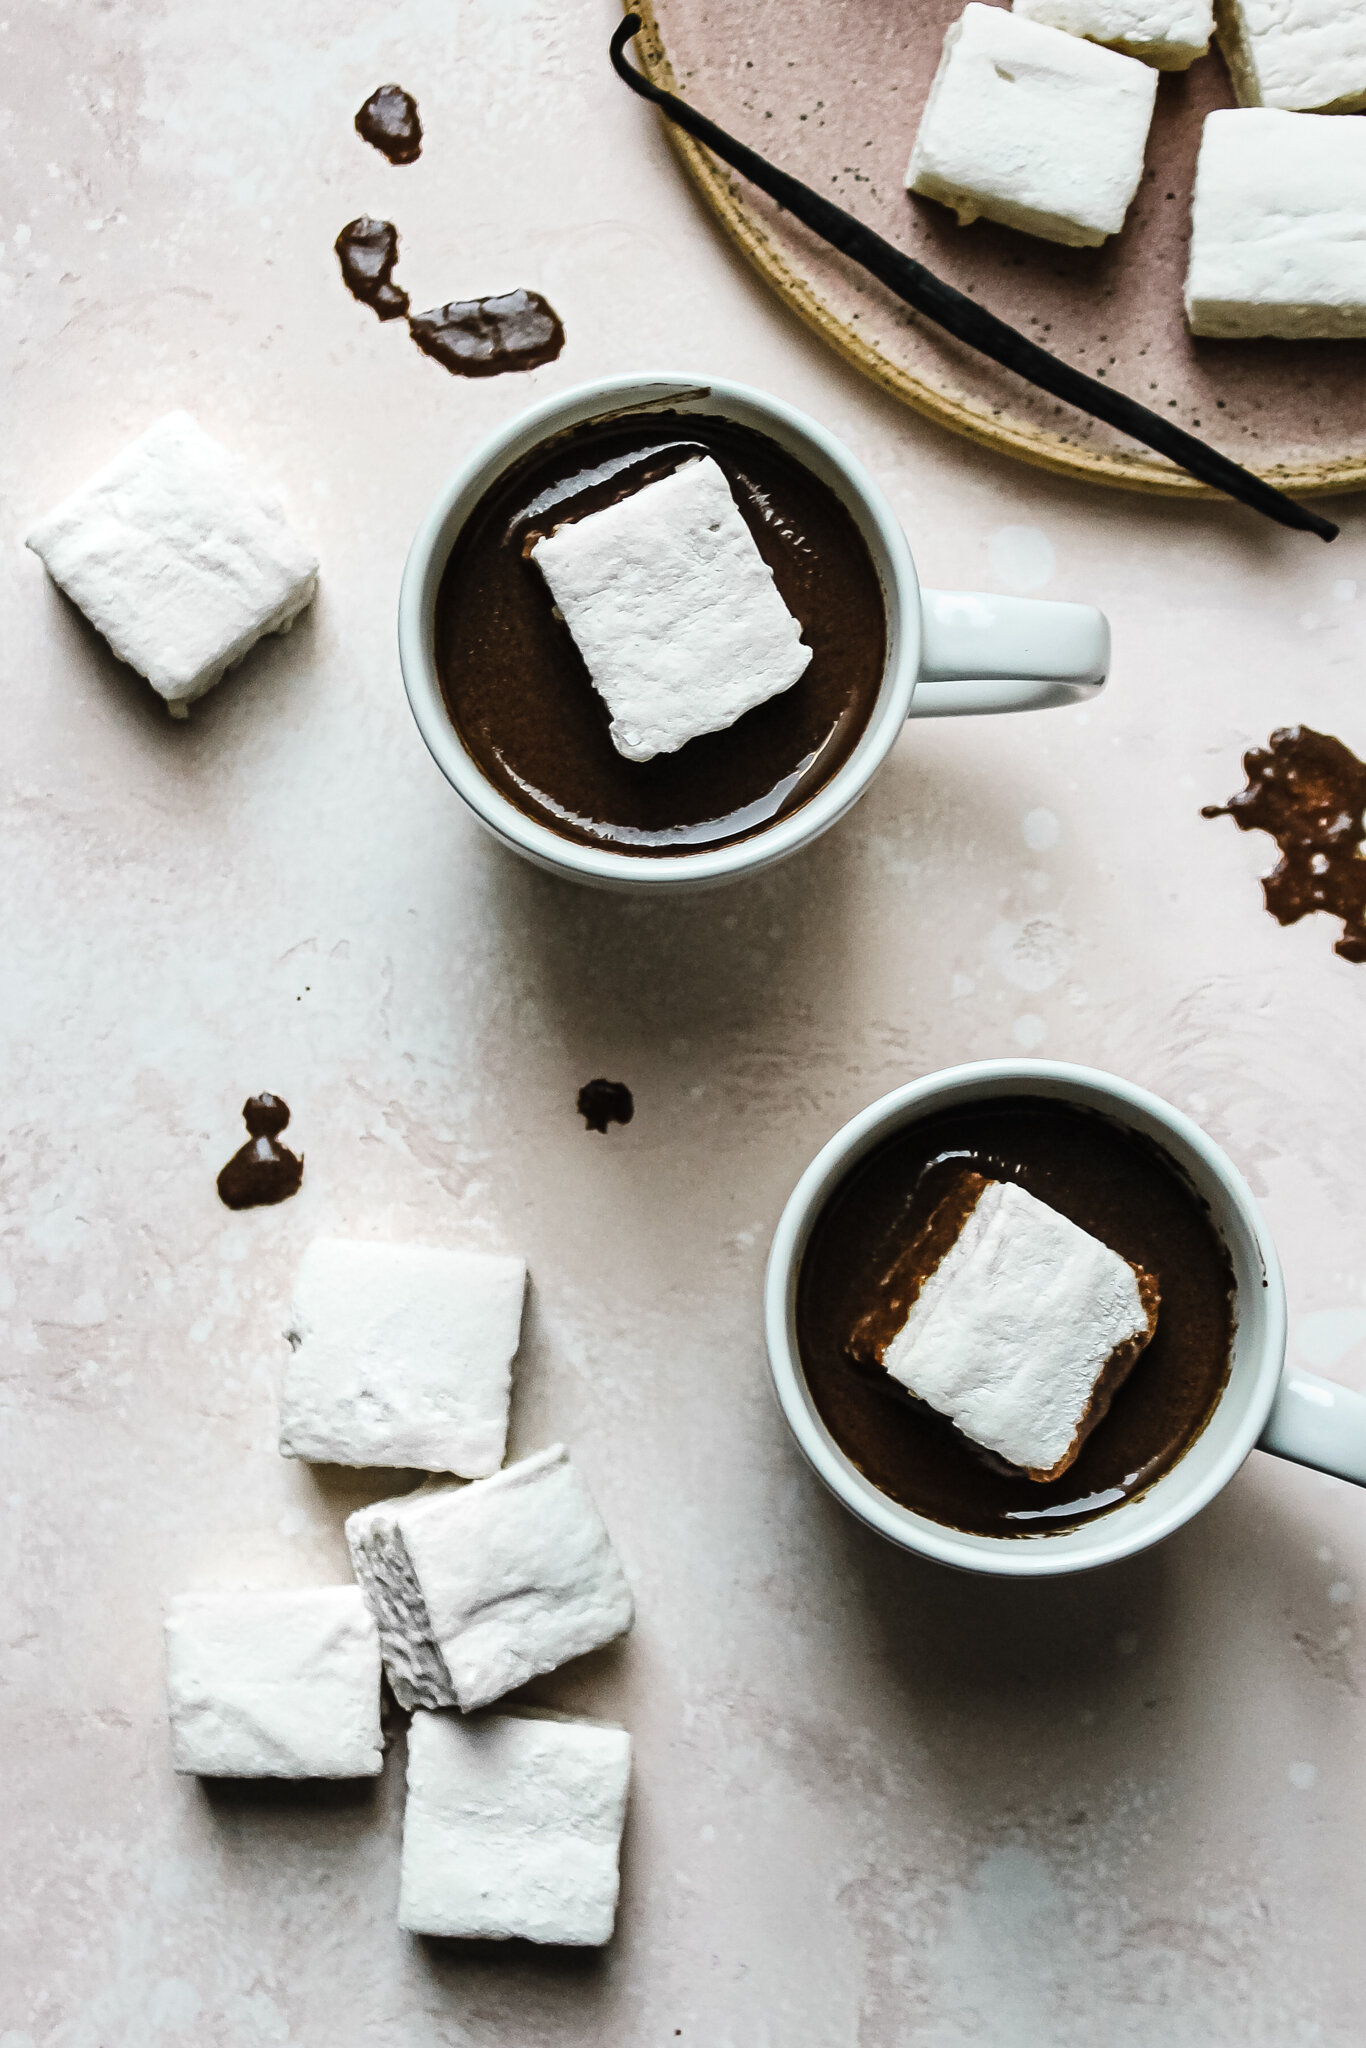
Marshmallows are a treat that don’t seem paleo nor doable to make at home, but this 3-ingredient recipe defies popular belief! This recipe is simple, customizable, and forgiving — you’ll never go back to store-bought marshmallows again.
These homemade paleo marshmallows are gluten-free, dairy-free & refined-sugar free.
These gluten-free, dairy-free, and refined-sugar free homemade marshmallows are super easy to make. You don’t need anything other gadgets than a stand mixer (or handheld electric mixer, if you’re dextrous) and a candy thermometer to make these paleo marshmallows perfect every time.
With only 3 ingredients, these paleo marshmallows have an even better taste and texture than store-bought ones. They’re fluffy, stretchy, sticky, sweet, and they melt amazingly in your mouth and even better in hot cocoa.
You can cut them out to any size you like, use any coating of your choice, and use the finished mallows for both melting and roasting. They taste delicious in my S’mores Brownie Crinkle Cookies (Paleo) and served over Pink Peppercorn Hot Chocolate (Paleo).
a few things to note:
Arrowroot starch: For classic marshmallows, I use arrowroot starch as a coating. If you don’t have arrowroot starch on hand, you can use tapioca flour, or give these paleo marshmallows a twist with toasted coconut, cocoa powder, sprinkles, crushed almonds, etc.
Honey: A light-colored honey is the sweetener of choice for this recipe. A lighter color will not only yield classic white marshmallows, but also keep them from having an overwhelming honey taste. I’ve tried to make these marshmallows using 3/4 cup of maple syrup and 1/4 cup of coconut sugar to replace the 1 cup of honey and they came out right in taste in texture, but had a slightly pale caramel color. The color looks great with the vanilla bean pod seeds speckled throughout the marshmallows, so feel free to to use any honey or a maple syrup/coconut sugar combo instead.
Gelatin: It is important to use an unflavored gelatin powder for these marshmallows. After the gelatin absorbs in water for 10 minutes, the texture will become gel-like. There may be some water that the gelatin did not absorb into, which is no problem at all.
Do not beat the mixture for more than 7-9 minutes on medium-high speed. The longer you beat, the greater the risk of over-mixing, which will yield a more difficult to work with marshmallow creme that will quickly begin to set. The texture of the marshmallows may also become too dense rather than cloud-like and fluffy.
If you’re not interested in having 40 marshmallows on hand, I suggest halving the recipe and using an 8x8 square pan instead. Since these marshmallows don’t have any additives or preservatives (unlike their store-bought counterparts), I would recommend consuming them within a week.
Without emulsifiers and thickeners, these marshmallows melt relatively quickly. If you’re using the marshmallows for roasting over a campfire, keep in mind that they’ll toast and melt quicker than conventional marshmallows.
It’s important to pour the heated honey syrup mixer slowly down the sides of the bowl while the mixer is running. If you pour too fast, the gelatin will not have the proper time to acclimate to the heat and your marshmallow creme will come out bumpy rather than smooth.


